Showing posts with label crafts. Show all posts

Tuesday, April 30, 2019

"Najeon Chilgi" Lacquerware-Making Experience

Najeon-chilgi 螺細漆器 basically means lacquer ware decorated with gold, silver or metal.
나 (na) = ornament shell, which Korea has typically been the abalone

전 (jeong) = decorating with gold or silver metals

질 (chil) = sap from the lacquer tree (sumac tree)

기 (gi) dish or furniture
Typical designs for najeon-chilgi in the Goryeo Dynasty of Korea (918-1392) were chrysanthemums, lotus blossoms, propitious Chinese characters, or equally propitious ten symbols of longevity (싶장생), and sometimes other propitious heavenly creatures like the haetae or dragon. Over time, other symbols like the sagunja (사군자), aka "the four gentlemen" which are the plum, orchid, bamboo, chrysanthemum, were added as a genre as were the pine and other elements of nature.


Decorating techniques:

The most commonly used "ornamental shell" was the abalone, probably because of its abundance and its natural reflective qualities. The shell after the calcium deposits were scraped off could then be shaped, but only by scoring and cutting with a blade, crumbling, or snapping. Modern-day artificially produced nacre sheets which is more cheaply produced is also shaped more easily. Modern methods for getting the proper shape are:
  • scissor-cutting for creating a variety of shapes
  • sawing with a blade press or even by scoring to create thread-shapes
  • breaking
  • mosaic style from crumbling
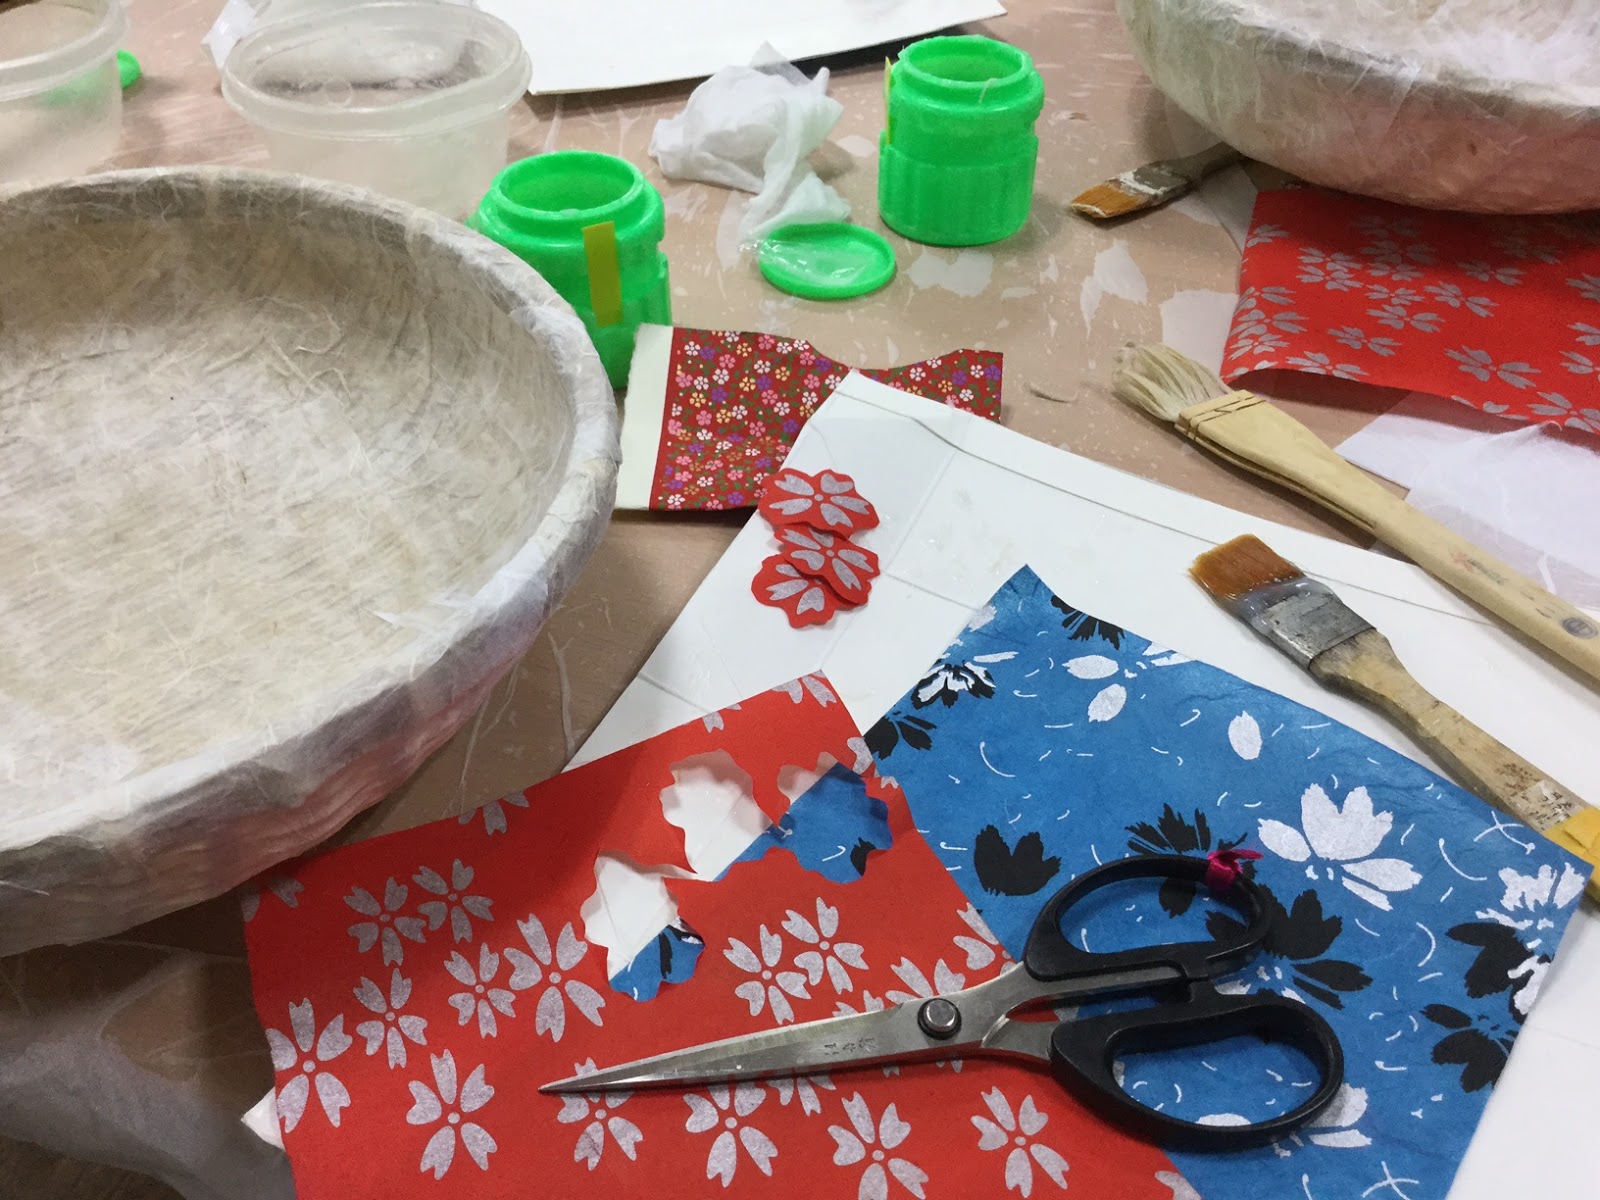
The hands-on task:

After giving our 25 or so person group the history and instructions on cutting, we were given a small 3" x 3" black-painted block on which to create our own masterpiece. Our teacher prepared some examples of what we could create ... but we were limited to 60 minutes to create, certainly not enough time to learn the "craft" and create, but it was a wonderful taste of the traditional Korean handicraft widely marketed in tourist shops today. 


 Process for design-making:
  • sketch the desired design on a paper of the exact size of the blackened wood
  • copy the design onto the wood (using white carbon is a quick transfer technique)
  • arrange the cut, sawn, crumbled nacre into the proper shapes and glue them
  • after all the nacre has been arranged, gentle wipe off the excess glue (The traditional method was a type of burning technique to adhere the abalone to the wood. And the labor-intensively prepared sumac lacquer was wiped on much like a thick clay over the picture and after it dried, the excess was gently wiped off revealing the shiny, abalone picture underneath. This traditional method was long-enduring but is very expensive to create ... 10 lessons and creating 3 small pieces costs about W800,000, at the Yongsan Craft Museum! The huge expense is mostly from the cost to extract and process the sap.)
  • varnish the picture with acrylic lacquer/gloss (our instructor used a car acrylic - similar)
  • allow to dry (dry in the sun for best results and refrain from touching)

Some of the participants artwork:

Creations made by some of the participants


The peacock I made during today's 60-minute session. Eeh, it's ok. It's soooo much easier to see the flaws AFTER the lacquer has dried and the nacre is more clearly visible. 

The deer pict I made a month ago at the newly opened (2018) Yongsan Craft Museum, 3rd floor 
where a variety of arts and crafts can be experienced. I didn't know a lacquer ware class was even taught in Korea so spontaneously paid for a lesson. Great experience, and from a young master who seemed to be telling me she was an Intangible Culture Heritage Holder.

________________________________________________________________
________________________________________________________________

For more in-depth history of this traditional handicraft that has existed since the Goryeo Dynasty in Korea, check out the Lacquered Comb Box Inlaid with Mother-of-Pearl posted by the National Museum of Korea. And YouTube has the informative Najeon Crafts with History of 1,000 Years (5:05) clip showing more on the development with examples.

Friday, August 31, 2018

"Butterfly Dance" Mandala

With the outdoorsi-ness of summer over, I have time for the palette again. My second mandala, a dance of butterflies. Faber Castell watercolor pencils painted out with a water brush, micron pens (005, 05 and 08) and a Xeno brush pen, small. Just an FYI, the Microns have pretty good archival ink, but the Xeno does not, so it's not a good idea to even put a dab of water on the Xeno ink and expect it to stay put.

Sketchbook 10" x 13 3/4"


center of mandala - horizontal view
center of mandala - vertical view
"The Dance of Butterflies" Mandala - 10" x 13 3/4" with Faber Castell watercolor pencils

Tuesday, July 10, 2018

Horse Mandala

The Yeoksam Global Village Center (Seoul, S. Korea), a center for promoting cultural programs for expats in Korea, offered a month-long mandala class. Participants would meet once a week for two hours and, depending on the creativity and time spent, by the end of the month each participant would have created a personal mandala.

To reach this goal, participants are given a package of materials:
  • a book, "My Nature Sound Therapy" (published in S. Korea by My Nature Sound Research Society, 2016)
  • a 25cm x 39cm sketch book
  • a package of markers
  • a gold gel pen
  • a two-piece stencil set
  • an eraser

A tiny lecture begins each session but the majority of time is for creating a mandala while nature sounds are played. Music therapy at work! Participants are encouraged to hum along, but I find this VERY distracting! I'll find my inner zen just listening.


The examples in the book and with the instructors were all made with geometric shapes, hence the stencil set. Maybe I'm thinking out of the box, but mandalas don't have to be based on geometric shapes but can also be regularly patterned shapes, figures, whatever. So with this in mind, and since I love animals, my mandala started out as horses in perpetual flow, and later peacocks and fish were added. If you think about it, these animals represent all the sentient beings--those from the earth, from the air and from the water--very Buddhist thinking. I'm not Buddhist, but have lived here long enough to pick up quite a few cultural beliefs and symbolisms.

I also used watercolor pencils and Micron permanent ink markers (size .005, .02 and .08) instead of the supplies provided. Just seemed more suitable to the topic and because markers bleed through paper very easily and can't be layered.


After a total of 8 hours in broken sittings, I had completed my simple mandala.
Fun new experience, and my niece will get the materials now with a sample mandala in the sketch book. Think it'll be something she'd really like ... and have time for. 

Horses, peacocks, fish in perpetual motion

Saturday, December 2, 2017

Horses in Watercolor Crayons

Yesterday picked up a package of 12 Mungyo Watercolor Crayons at Hangaram, a serious art store I'm seriously addicted to going to. Had never noticed that art medium before and thought for W4,000 (roughly $4) I could try out something new and share the new experience with my nieceling and nephew, who I'd be visiting the next day. They both love crafts ... and yes, the crayons were a smashing success! And so was the other craft I took them!


So out of the 12 color set, I only used four earth tones, but they were so much fun to use, and the kids were oo-ing and aw-ing about the vivid colors and how easily they spread across the paper. As they were working on another project, which they were excited about, and we didn't have a lot of time to play with my new crayons too, I've been instructed to bring them back next time ... with a hint of bringing a bigger set of colors. Well, that's certainly doable since they were so inexpensive! 

The kids project .... painting scroll saw cats, which I made almost 2 years ago! The afternoon was an absolutely success!

My nephew is very proud of his cat, which he named Leo.

The cats -- Leo by my nephew, Happy by my sister-in-law, and Sisal by my nieceling!
We transformed the kitchen into an art center ... with my nieceling even drawing messages
on the recycled pages of a large calendar that we used to protect the table.

Such creative kids!!!!

Friday, September 22, 2017

Painting a Traditional Japanese Basket

Itaewon Global Village Center hosted a special foreigner art class which I could squeeze into my schedule .... making a traditional Japanese basket.

I love traditional handicrafts and putting these baskets together and transforming them into miniature works was art was great. Surprisingly the method is quite simple, but I say that now when we modern people can easily go to the store and buy our supplies and not be dependent on labor-intensive production of said materials. 

First of all, take a simple, light-weight wicker basket. Each of us had a 14" by about 4" deep cheapie basket, a small stack of index-card-size rice paper rectangles, a bottle of glue, and two flat paintbrushes (one for the glue and the other to use as a dry-brush to press down on the glued rice paper). So we all started out by glueing one side of a piece of rice paper and then tacking it down on the wicker basket frame. The idea is to cover the basket, including the top edge, entirely with two layers of rice paper or until the basket is no longer seen through the thin rice paper.


Then we could choose from a variety of decorative rice papers -- the teacher provided both Japanese-style rice paper and Korean-style rice paper for decorating. The two biggest differences between the two papers are that Korean rice paper is much more delicate and, though strong, is so fibrous that it can be torn into shapes with fibrous decorative edges; Japanese rice paper is thicker, tougher and harder to manage delicately shaped tears. That said, Japanese rice paper can be easily cut into shapes; Korean rice-paper doesn't allow easy cutting into the delicate shapes as the paper is thin and crawls around the scissors. The other big difference is the type of design employed on the papers. Japanese rice paper has tiny delicate designs and very vivid and bright colors (see picture immediately below) while Korean rice paper can be bright, or muted, have large designs or small. Since this is a traditional Japanese craft, I chose Japanese rice paper to give my basket a more authentic traditional look.

The ladies at my table were keen on cutting and designing some very unique baskets.


my dragonfly decorated basket (before the stain)

Once the baskets were decorated, we used a blow-dryer to make sure the glue was dry before applying the two layers of natural persimmon dye. I shouldn't have applied the third layer of persimmon dye -- the dark color competes with the red in the dragonflies. But anyway, it turned out very cool looking and we did everything under learning circumstances in 2 1/2 hours.


my traditional Japanaese basket and a dish of sprouts at a Vietnamese restaurant ... must be "Asian Day"
Some of the things I love most: watercolors, Asian calligraphy inks and brushes, and hanji craft!


Without the reflection, the dragonfly dance is rather cool.

Wednesday, July 26, 2017

Labeling the Garden: Garden Signs

Friends are great! A few months ago some avid gardening friends moved to their dream house near water for kayaking and with space for a large garden. Their house is small because they spend their time outdoors (oh, we so connect!), so I wanted to give them an appropriate "housewarming" gift, well, actually a "garden warming" gift. The idea was born when one of them said, "I am so jealous of my sister for getting this really awesome garden sign that says, 'I live in the garden, I just sleep in the house'", so I knew I had to give her something really unique to make her garden fun and personal and totally unique. The outcome: labels for her primary vegetables and then, since they've been dabbling in herbs the last couple of years, thought I'd make her some herb labels as well.

Making the Vegetable Labels: scrollsaw work after free-handing the lettering

free-handing the lettering for the labels (notice my "new" and very first router! Had to put that in the picture because it promises new woodworking projects in the future!)

After cutting the outlines of the words out, had to drill holes to insert the blade to cut out the inner parts of the letters (erg, what a lot of time)
Labels cut and sanded, and ready for painting
The yellow and red should show up nicely in the greed of the garden!
"hot" colors for veggies, and "cool neutrals" for the herb garden

Sunday, February 5, 2017

Hanji Tissue Paper Boxes

Tissues boxes made from hanji, the traditional handmade Korean paper made from mulberry fibers. Brought tons of hanji on a vacation visit to give my mom and four of her friends a hanji art class. The ladies kept their own boxes and the rest I made for several of the other elderly church ladies.

Last year I gave an introductory hanji class to most of the same ladies, but when I saw a new line of delicate leaf-shaped hanji that could be layered over other hanji colors (the roll of white fibers -- x4 patterns -- in the upper left-hand corner of the pict below), I got inspired to teach another class, hence the wide variety of colors. So ultimately, many of the tissues boxes ended up with three kinds of hanji: the inner lining that no one typically sees (cheap machine-manufactured hanji), fibrous handmade hanji of many different qualities on the outside, and on several tissue boxes the third layer of handmade delicate, pulpy hanji in leaf and other patterns.


The black or very dark-colored hanji can be applied with various wrinkles and textures, and then when dry, can be gradually bleached with a 40% bleach - 60% water mixture. These fibers were pretty thick but some papers can't take such a high concentration of bleach without destroying the paper fibers.


Gradually after several sessions of wiping and allowing to see the effect, the fibers get lightened and take on character.


THE COMPLETED HANJI TISSUE BOXES

Once all the boxes were made, I applied a couple layers of coating (Korean product) on each to bring out the color and give a protective layer to the fibers. Now all of the boxes can be lightly dusted off with a damp rag to keep them clean and the fibers won't be damaged in the process. 


picture by KD, one of the recipients